If you want longer-lasting designs, it would be best if you use an airbrush. Designs with airbrushes are easier on the eye, attracting more attention than regular art. Several techniques are employed in making these magnificent designs. However, if you are not confident about your skills, visit airbrush-expert.com for comprehensive details.
This article gives you the essential details of dealing with airbrush designs.
How To Make Designs With Airbrush
Designs with airbrushes require special attention due to their sophistication. You, therefore, need to be careful as you create the design. For more complex designs, it would be best if you seek the help of a professional interior designer. To help you achieve commendable outcomes, follow these simple guidelines:
Design Surface Preparation
Before you begin making the design, you must clean the surface you will paint on. If you have a good duster, use it to wipe the wall you intend to have the airbrush design drawn.
Use old newspapers to cover the parts of the wall that you don’t intend to paint. Also, make sure that you use painter’s tape to mask the newspapers. This will reduce the chances of messing up the already painted walls. In case the paint splashes by mistake, it will land on the newspaper rather than the painted wall.
Come Up With A Sketch Of the Design
Once you have identified the space you want to draw on and cleaned it, the next thing you must do is have a sketch. Allow your children to contribute too especially in sketching designs for their rooms. The sketch will guide you during the designing process. So, how do you make a compelling sketch?
The first step is getting high-quality drawing material, such as a pencil. Now use the pencil to draw faint lines on the wall you have cleaned. You must make the lines as faint as possible but not to the point where you can hardly see them.
Alternatively, make stencil cardboards that reflect your design. You will then mount the cardboard on the wall and mask them using painter’s tape. To achieve a precise airbrush design, it would help if you cut out the stencil cardboard with a sharp knife.
Making the Initial Design
Once the surface is ready, you now need to load your airbrush gun with fresh paint. The paint loading process must strictly follow the manufacturer’s instructions. This will help you save on paint and avoid damaging the airbrush gun and most importantly your airbrush design.
In this next step, you will have to power your compressor on. Now use the gun to have a thin outline of the desired design painted on the surface. The thin outline is going to be your visual roadmap through the whole painting process.
Now use your preferred color to paint the inner parts of your art. For the parts that demand more paint for visibility, ensure you add enough paint to them. If your airbrush design is supposed to have lighter edges or even lighter parts in the middle, meet that demand. The advantage here is that you already have an airbrush gun that simplifies the job.
Apply Second Paint Color
This step applies only to the airbrush designs that require additional hues. Here, you will be required to add the second paint to your already cleaned airbrush gun. Now point the airbrush gun at the specific areas that require the secondary painting and paint them carefully.
For people using a stencil to develop an authentic design, it is important to unmount the first cardboard before mounting the second one. However, it is advisable to wait until the paint is dry enough to touch. Otherwise, you risk damaging the airbrush design you have worked so hard to create.
Once the second board is firmly mounted, use your gun to airbrush the secondary paint. If you want more texture on specific parts of the design, make sure you press the nozzle long enough to create the desired feel.
Adding Different Color Shades
Airbrush designs that have multiple shades portray the prowess of the artist. Therefore, if you crave this fame and praise, apply different shades to your design. Use the same procedure you have followed in applying the first and second paint layers.
Cleaning Your Equipment
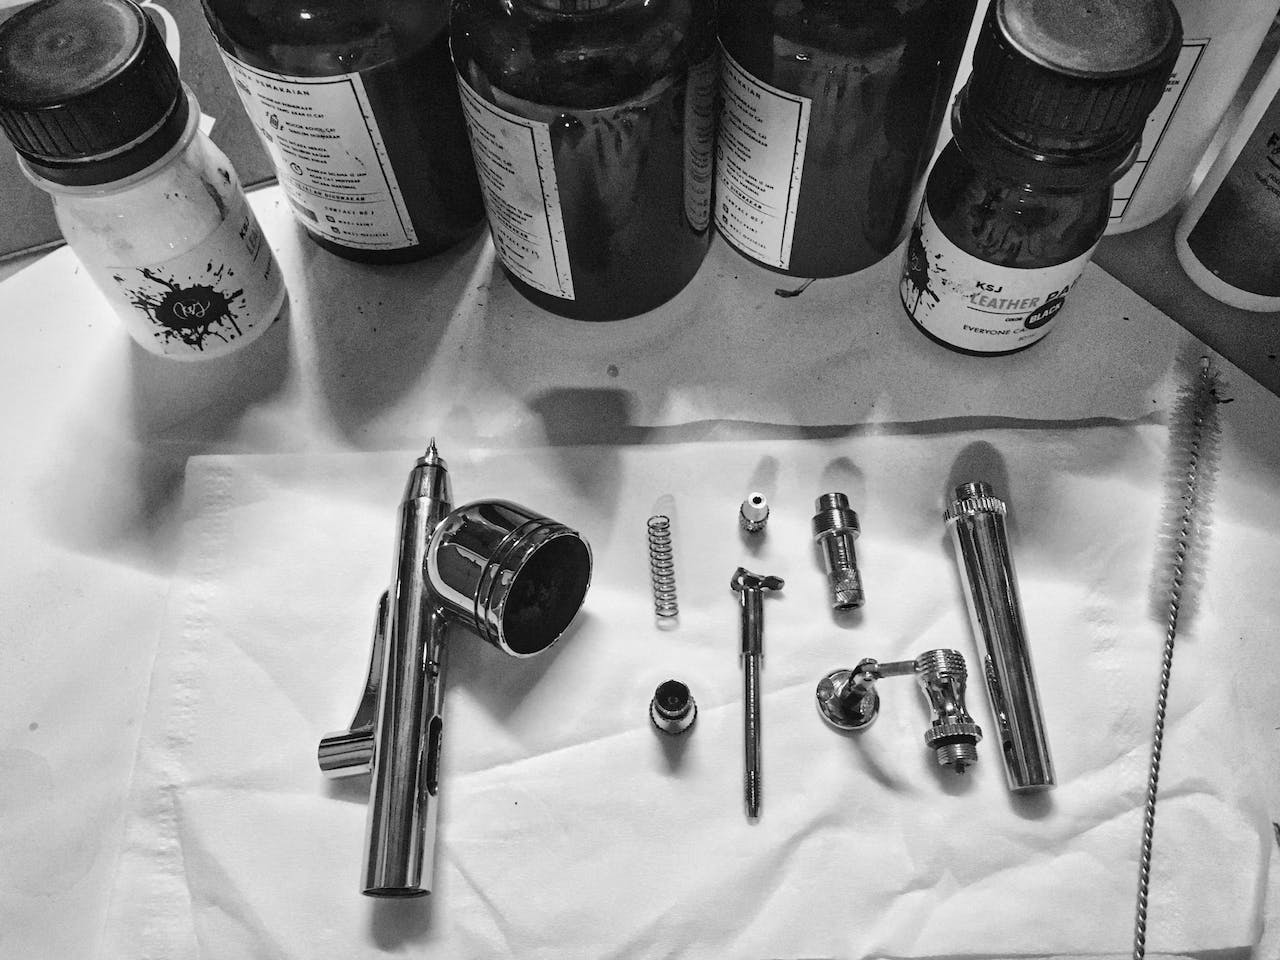
Once you have finished working on your design, it is time to clean the airbrush gun. Cleaning it thoroughly will make sure it doesn’t get blocked once the paint starts to dry. To effectively clean it, blow through it with water. The next step is removing the paint residues using cotton swabs.
Now, add an airbrush cleaner to the gun and spray it out. After this, unmount and clean each part individually.
Conclusion
Designs made with an airbrush are appealing. With an airbrush gun, you will be able to work faster, giving better results. You will also be able to draw the complex designs that would have been tricky if you were using traditional painting methods. However, they require precision and a keen eye for details.

