
Museums and galleries are great places for a photographer. Works of art, archaeologists’ discoveries, artifacts found on expeditions, or heritage treasures – not only attract the viewer to admire, but also compel, provoke, and incite to create something unique. If you like to improve your skills and try new things, be sure to do a shoot at a museum. You can also invite a model to make your pictures more diverse. In Skylum’s blog, you will find information about the most winning photo poses for women.
Lighting is the main problem of shooting in a museum, so we prepared some tips on taking awesome, high-quality pictures.
Preparatory stage
Museums often have very clear rules, which strictly stipulate what exhibits can and can not be photographed. The use of flash can be limited. You may also well encounter a ban on photographing certain rare works of art. But don’t feel bad, there are more than enough exhibits, and you will definitely find a few worth seeing. In addition, most museums allow you to take pictures of the foyer and the architecture of the building itself. In order to capture more light, choose a large aperture. Also, use a monopod or tripod. Since flash usage is limited, consider using a slow shutter speed.
What to photograph?
It seems like such a simple question, but when there are so many interesting things around, it’s very easy to get confused. Here are a few tips:
- First, just enjoy the art and the exhibits. After all, that’s what you came to the museum for!
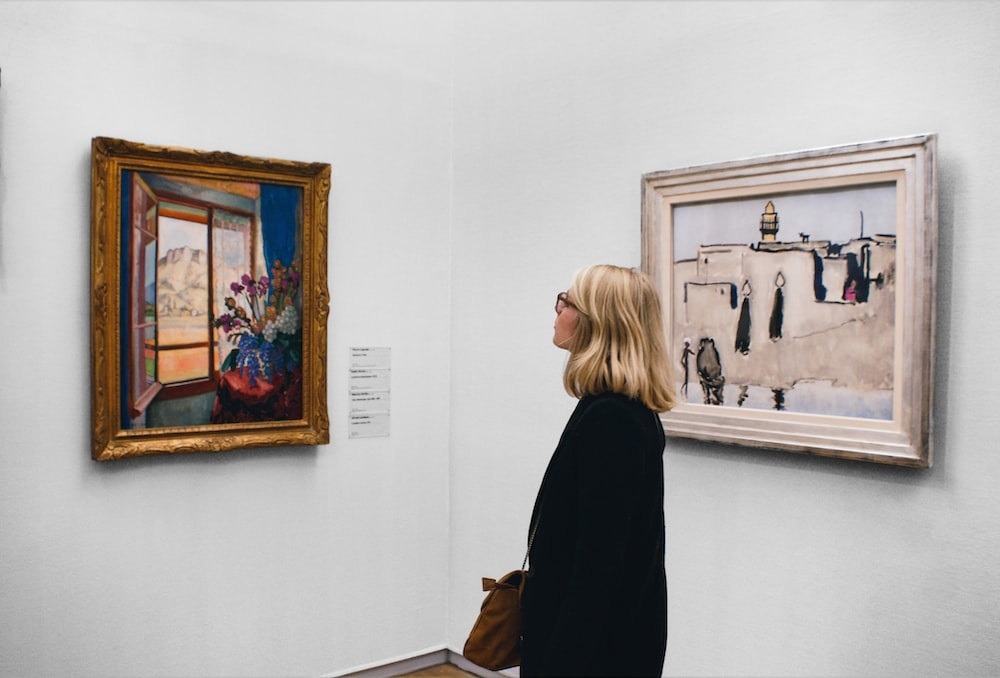
- Look at the people. Their postures, facial expressions, and even their speed of movement all provide a connection between art and the viewer and can feed your creativity.
- Don’t be afraid of contrasts and contradictions. Use the shallowest depth of field to fill the photograph with mystery and a sense of the viewer’s involvement in the scene. You have to create an effect of presence and observation “from behind the scenes”.
Shooting in low-light conditions
The lighting in museums is usually dim, which adds entourage, and in addition, many museum pieces can lose their appearance over time when exposed to bright lights and camera flashes. So you need to adjust your camera to suit such lighting. If flash is prohibited, use the widest possible aperture so you can hold the camera and use a relatively fast shutter speed. Sometimes tripods are forbidden in museums, as they can disturb other people.
Avoid reflections from the showcase
Many exhibits are hidden behind glass, especially artifacts and rare paintings, and when shooting such exhibits your reflection may come into the frame. To prevent this from happening, lean the lens directly on the glass itself if the rules allow it (don’t forget to wipe it down, otherwise someone’s fingerprints may get in the frame). You can use a polarizing filter as well. It might also be necessary to increase the ISO since many of the artifacts are almost semi-darkness.
Pay attention to details
Don’t be afraid to get close to your subjects, so you can get all the details. If you can, you can use a macro lens, so you can capture the subject in great depth. If you are far away, use a zoom lens. Also, favor a large aperture.
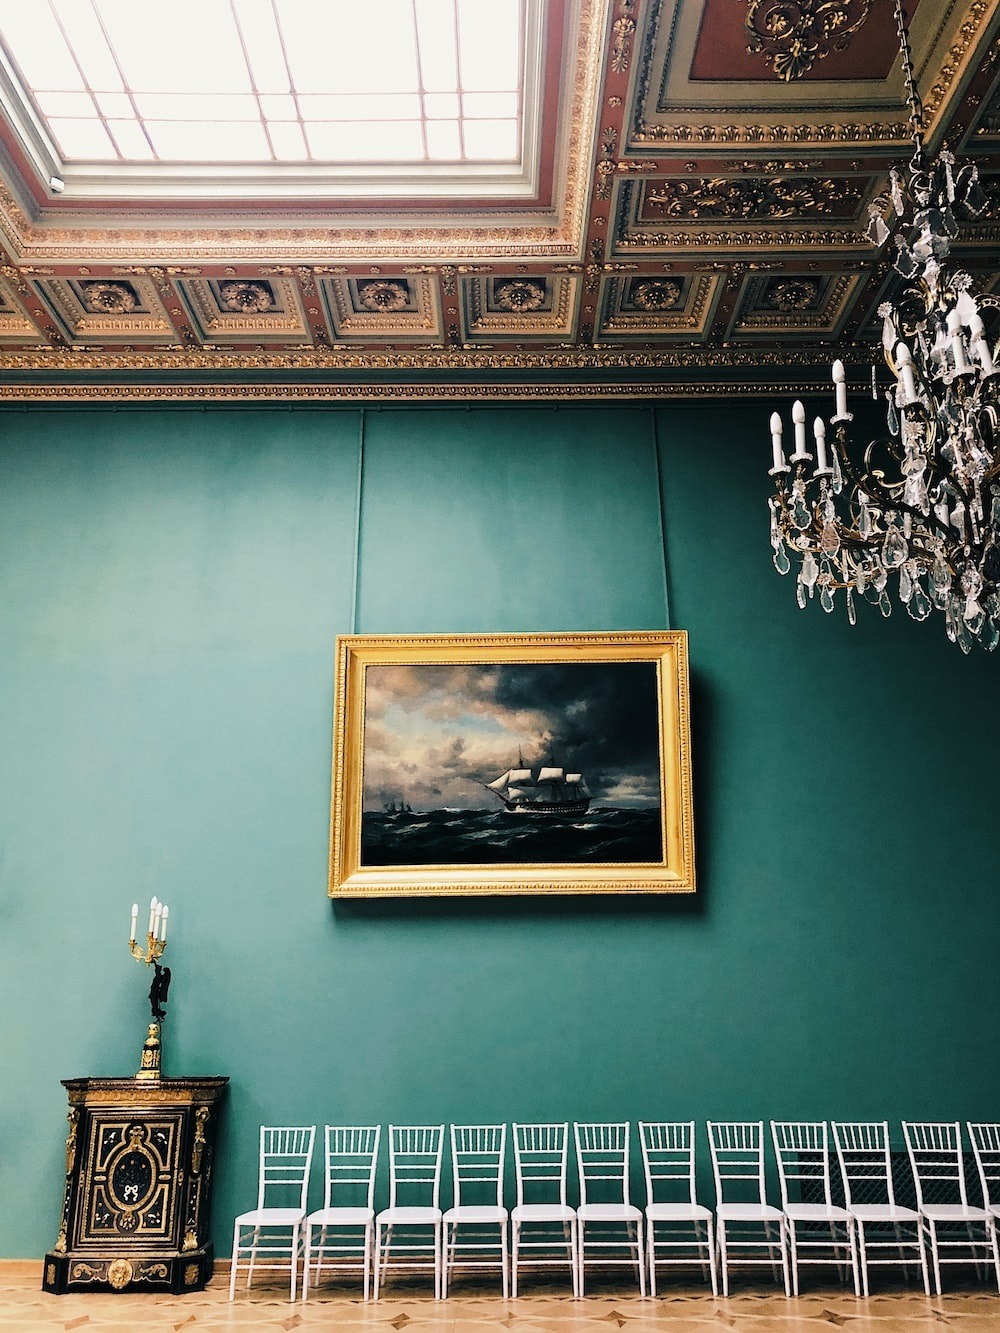
Capture the ceiling
In some museum buildings, the architecture is as incredible as the artwork exhibited. Since the ornate architecture is often in the foyer, you can use a tripod to shoot there. Turn the camera up so that it faces the ceiling and try to take pictures without a flash. Set the ISO to 400 or even higher on the build, and set it to auto mode to see what settings your camera chooses. To get the sharpest picture possible, use the camera’s self-timer.
Camera settings
In museums, there are certain rules that you have to adjust to. Usually, museums don’t allow the use of a tripod or flash, so use the widest possible aperture when photographing (so the camera can capture more light). Increase the ISO, but keep in mind that with this setting, the finished image might be grainy.
Equipment
In some cases, you will need a standard lens and a telephoto lens. For shooting in a museum, it’s best to choose lenses that have a wide aperture potential. You’ll also need a monopod – it will allow you to take sharper pictures, and it won’t get in the way of people, unlike a tripod. Also, bring along a polarizing filter and tissues in case you need to take pictures through glass. When choosing a camera bag, preferably one that is easy to open and from which you can quickly get everything out.
Conclusion
Museums are a reflection of a region’s historical heritage and culture. When you get to a museum, don’t forget to take a picture of the building’s facade as well – the architecture of museums is usually very impressive as well. Also, try to take pictures without disturbing anyone with your actions. Invite models, it’s a great way to get great shots! Think about the best photo poses for women. Skylum’s blog has the most up-to-date information. If you plan everything carefully, you’ll have a huge number of great shots to share with your friends and family and add to your portfolio.